Perfecting presentations often necessitates high-quality visuals that reach every audience member. Accomplishing this task becomes an effortless process when one comprehends how to connect iPad to projector. With insightful guides and well-guided instructions, this article will ease your way through four distinct avenues for achieving a seamless connection, enabling your iPad's high-resolution screen to grace the large projector display without a hitch. So, without further ado, let's get started!
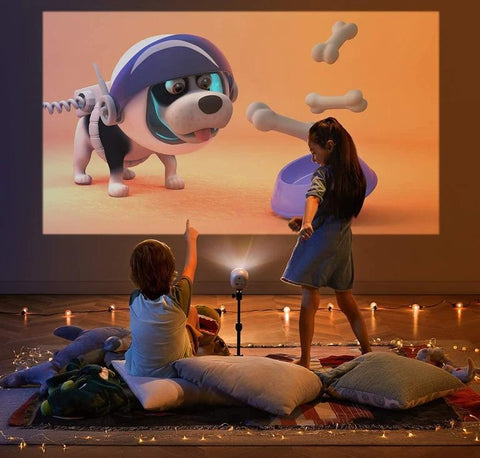
How to Connect iPad to Projector
Here's a step-by-step guide on how to connect your iPad to a projector using different methodologies.
Connect Your iPad to a Projector with an HDMI Adapter
This "iPad to projector HDMI" is more commonly used due to HDMI's ability to transmit both audio and visual signals.
Step 1: The first thing you need to make ‘iPad connected to projector’ happen is to purchase an HDMI adapter for your iPad. Apple has a Lightning Digital AV Adapter that converts the port to an HDMI. If you have an older iPad, you might need a 30-pin to HDMI adapter.
Step 2: Let's go to the next step of connecting iPad to a projector. Once you have your HDMI adapter, connect it to your iPad's charging port.
Step 3: Connect the one end of your HDMI cable to your adapter.
Step 4: Connect the other end of the HDMI cord/cable to an available HDMI port on your projector.
Step 5: Switch on your projector and select the appropriate HDMI input.
Step 6: On your iPad, swipe up from the bottom (or down from the top right corner on some iPads) to bring up the Control Center. Tap on "Screen Mirroring" and select your projector. If everything is set up correctly, your iPad screen should now appear on the projector.
Connect Your iPad to a Projector with a VGA Adapter
This next method on iPad to projector connection is used if your projector only offers VGA, which does not transmit audio.
Step 1: To connect iPad with projector, you need to Purchase a Lightning to VGA Adapter or a 30-pin to VGA adapter, depending on your iPad model.
Step 2: Insert the adapter into your iPad's charging port.
Step 3: Next, link your VGA cable to the VGA adapter connected to your iPad.
Step 4: Connect the other end of the VGA cord/cable to the VGA port on your projector.
Step 5: Switch on your projector and select the appropriate VGA input.
Step 6: Again, the last step is mirroring iPad to projector. Bring up your Control Center on your iPad by swiping upwards from the bottom (or downwards from the top right corner on newer iPads). Tap on "Screen Mirroring" and select your projector from the list. Your iPad screen should now appear on the projector.
Note: VGA does not support audio. If you want to play audio, you will need to set up speakers for your iPad separately.
Connect Your iPad to a Projector through Apple TV
Understanding how to connect an iPad to a projector wirelessly using Apple TV is an easy process. As a streamlined method, it can be done swiftly with the right tools.
Step 1: Gather the necessary devices. These include an HDMI cable, Apple TV, your iPad, and a projector.
Step 2: Connect the renowned Apple TV to your projector using the HDMI cable. Make sure both devices are powered on.
Step 3: Ensure that your Apple TV and your iPad are both linked/connected to the same Wi-Fi network.
Step 4: Now, swipe down from the top-right corner of your iPad, open the control center, and select the "Screen Mirroring" option.
Step 5: Finally, select "Apple TV" from the available devices and start mirroring.
Connect Your iPad to a Projector Using USB-C Cable
If you're in a situation where Apple TV isn't an option, there's a direct way to connect your iPad using a USB-C cable. It's quick, it's easy, and it's perfect when you need a hassle-free solution.
Step 1: For this to work, you'll first need a projector equipped with a USB-C port. Then, depending on your iPad model, you'll either require a USB-C to USB-C cable (for iPad models with a USB-C port) or a USB-C to Lightning cable (for iPad models that lack a USB-C port).
Step 2: Plug one end of the appropriate cable into the USB-C port on your projector.
Step 3: Insert the other end of the USB-C cord/cable into your iPad.
Upon completion of the above steps, your iPad's display will be projected onto the connected projector, eliminating the need for an adapter. This presents an efficient and straightforward solution for connecting your iPad on projector.
Screen Mirroring Your iPad to a Projector
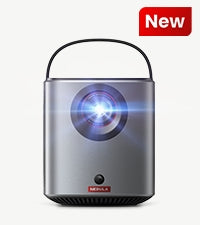
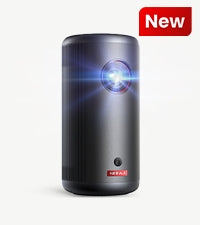
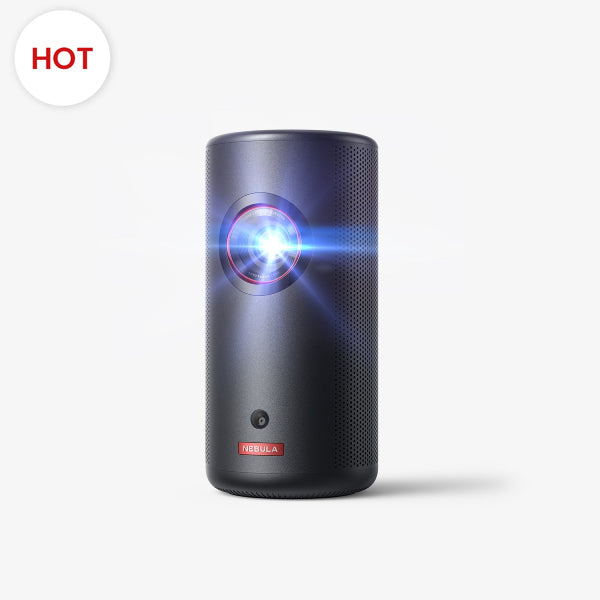
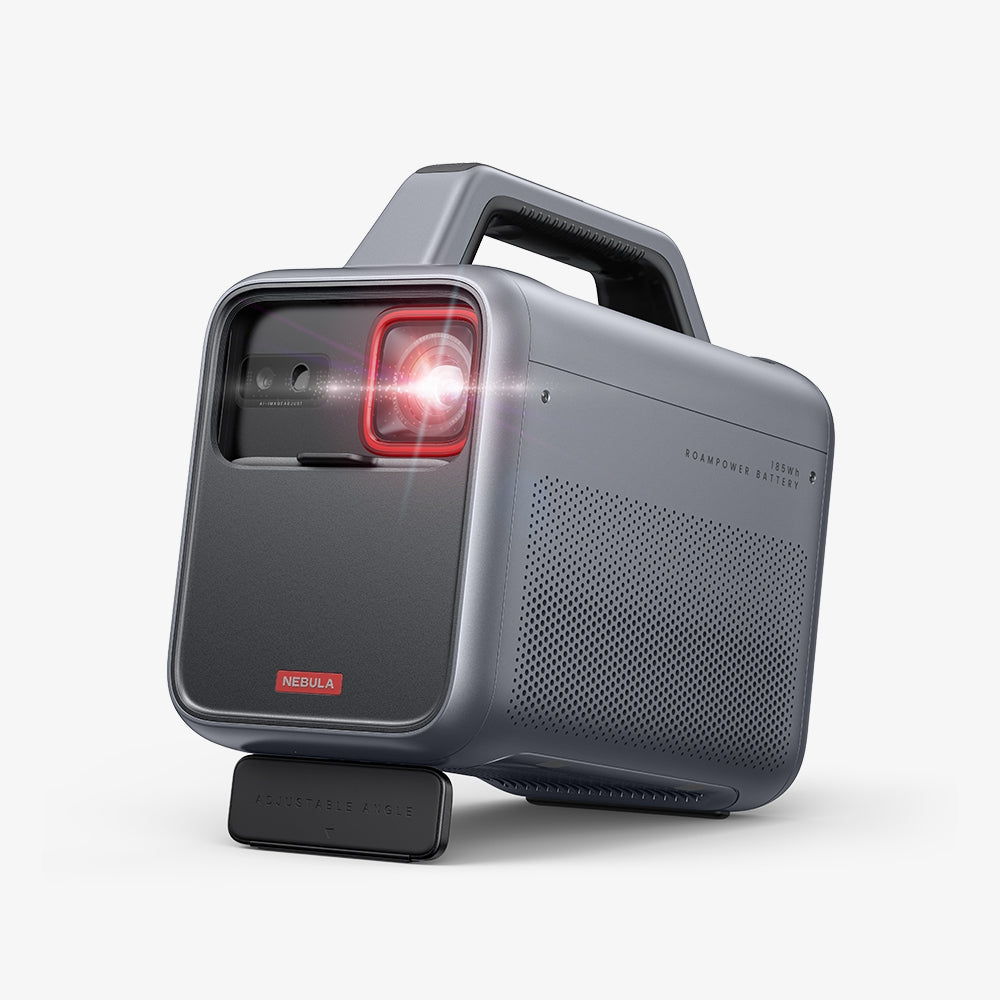
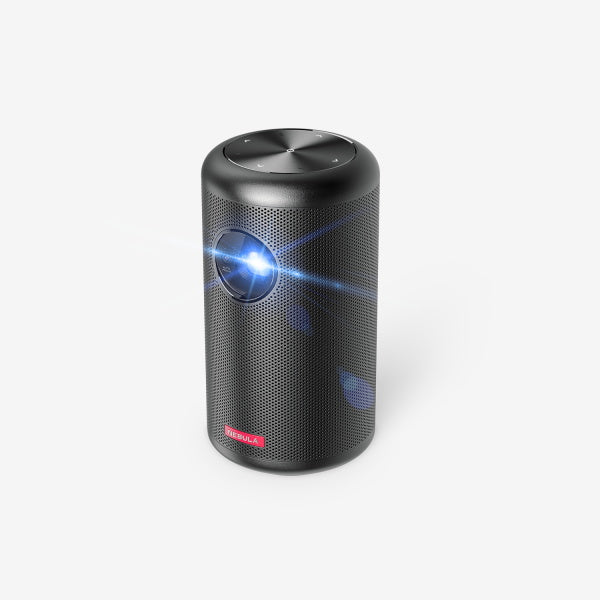
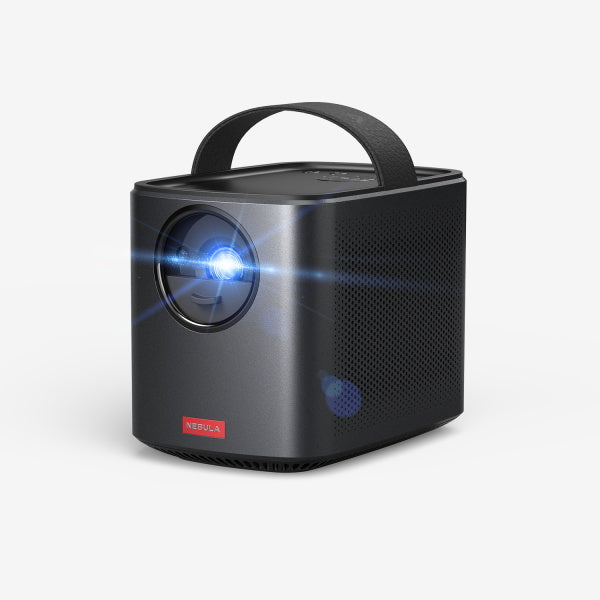
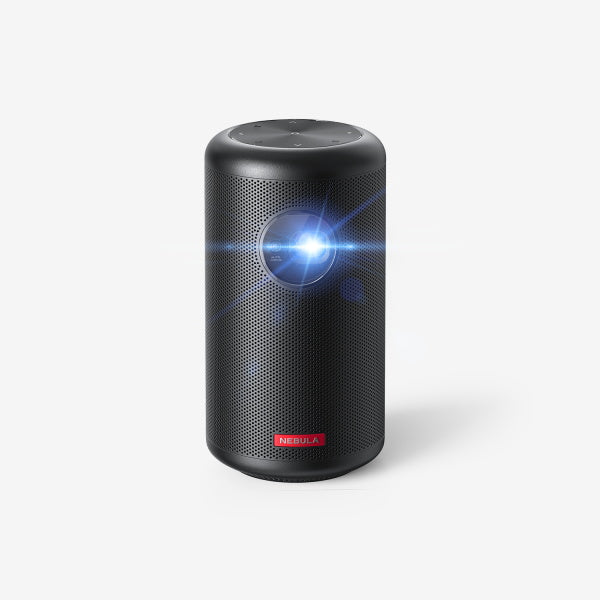
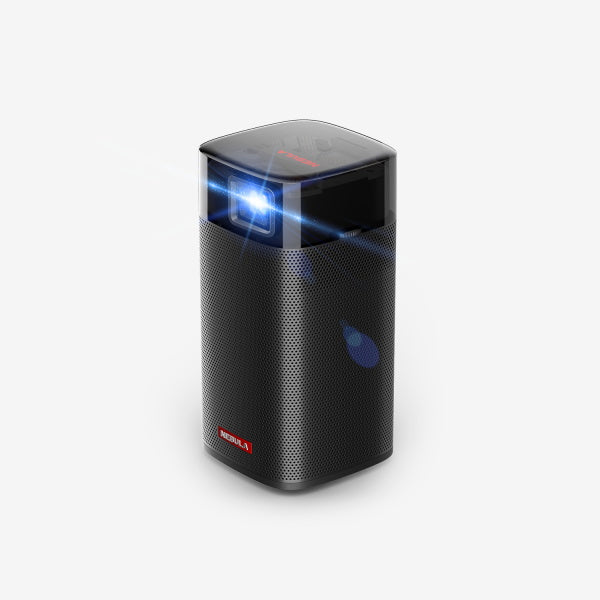
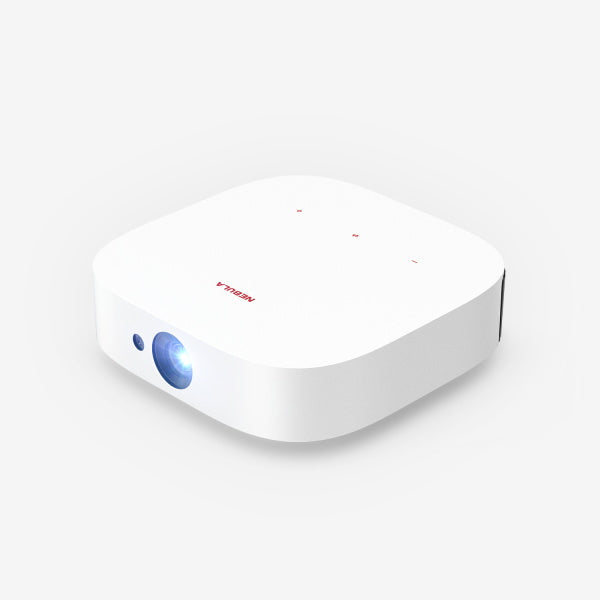
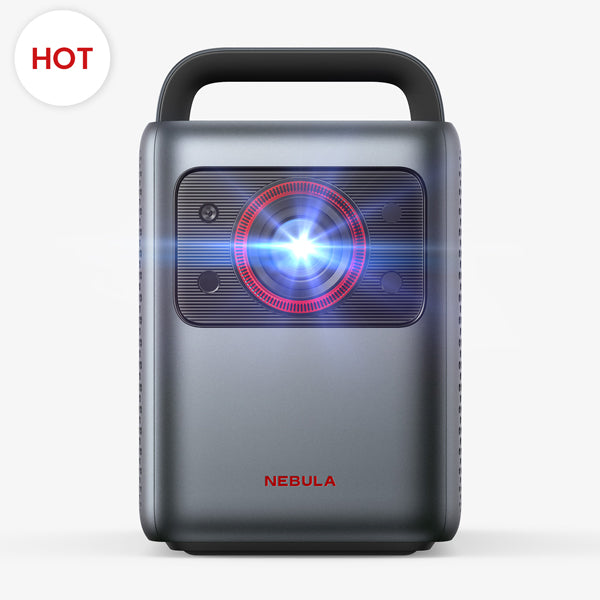
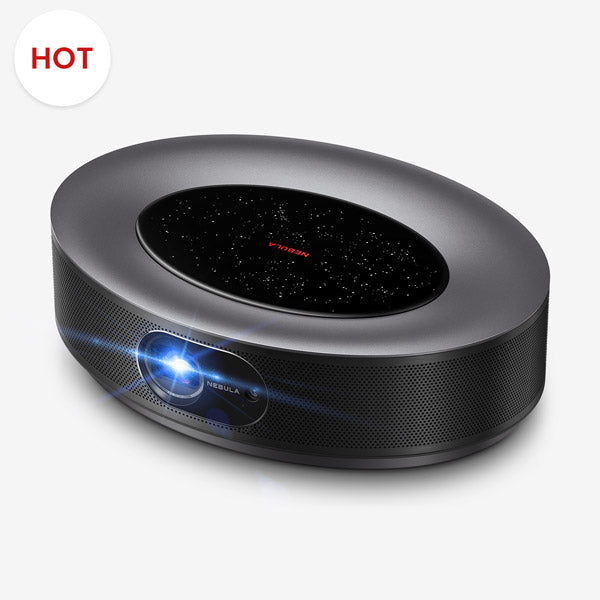
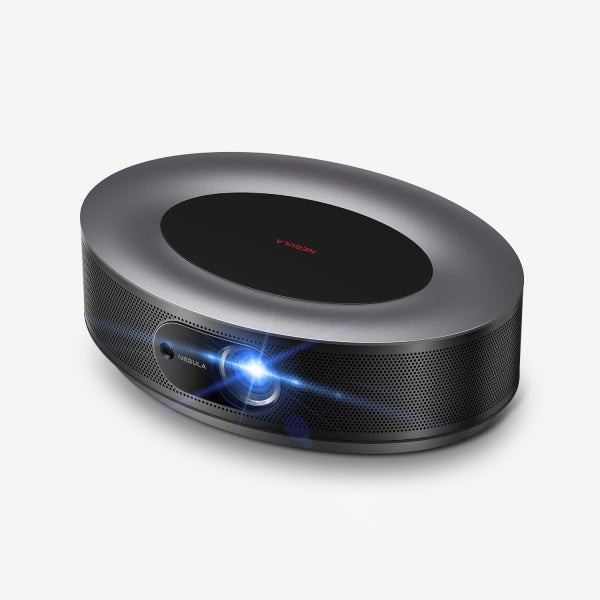
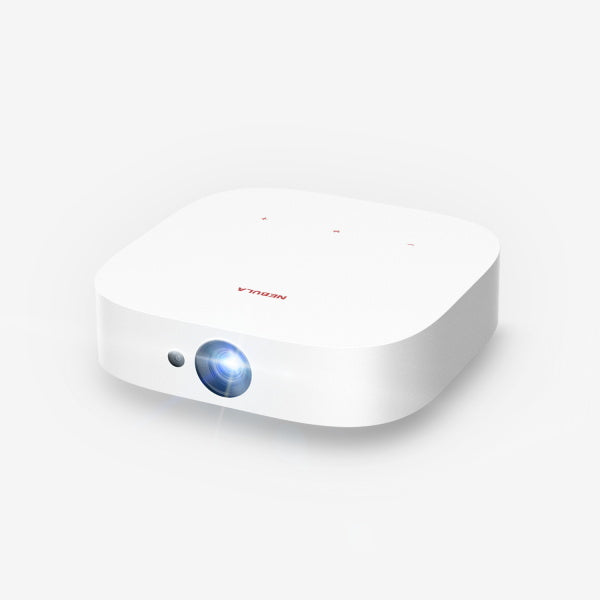
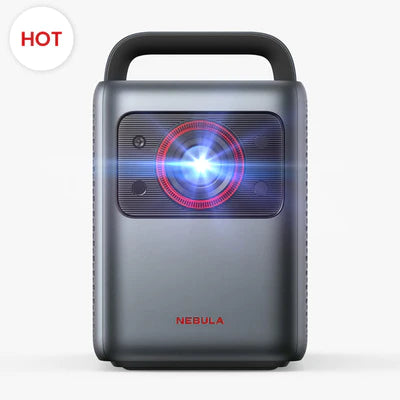
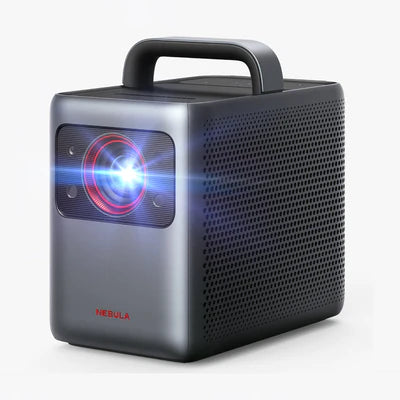
To mirror or stream videos from an iOS device to a smart projector like Nebula that supports AirPlay, follow these steps:
For Screen Mirroring
- Ensure your iPhone or iPad and the Nebula projector are connected to the same network. This can be via Wi-Fi or your phone's hotspot.
- On your iOS device, activate Screen Mirroring from the control center.
- Select "Nebula Projector" from the list that appears on your device's screen. Your device screen will now successfully be mirrored on the projector.
For Streaming Videos
- With your iPad or iPhone and projector on the same network,
- Launch your preferred streaming app and select a video.
- Tap on the AirPlay icon (or "cast" icon), usually at the top-right corner of the screen, and select the projector as your streaming device.
Note: Copyrighted content from services like Netflix or Hulu can't be mirrored or screencast due to restrictions - instead, install these apps directly onto the projector to watch the copyrighted content.
Conclusion
As we draw to an end, it's obvious there's more to your iPad than meets the eye. Armed with new knowledge on how to connect iPad to projector, you transform more than just pixels on a screen. You create memories, inspire action, or change perspectives. Take full advantage of your device, forge tech-savvy connections and shine your ideas on a bigger canvas for all to see.
FAQ
Here are some commonly asked queries about how to connect iPad to projector.
How do I mirror my iPad to a projector?
To mirror your iPad to a projector, first connect the iPad to the projector using an HDMI cable and Apple's Digital AV Adapter. Then, swipe down from the top-right corner to open the Control Center on your iPad. Choose "Screen Mirroring" and select the relevant projector from the list of available devices. If prompted, enter the pin from the projector on your iPad to initiate screen mirroring.
What projector will work with an iPad?
Most projectors that have HDMI or VGA inputs can work with an iPad. Specifically speaking of the Nebula Projector, it can work with an iPad as it features Airplay functionality for iOS devices. You simply need to connect your iPad to the same Wi-Fi network as the Nebula Projector and then use the 'Screen Mirroring' option from the 'Control Center' on your iPad to view your content on the bigger screen. Furthermore, Nebula Projectors usually come with HDMI and USB ports which provide further connectivity options.


