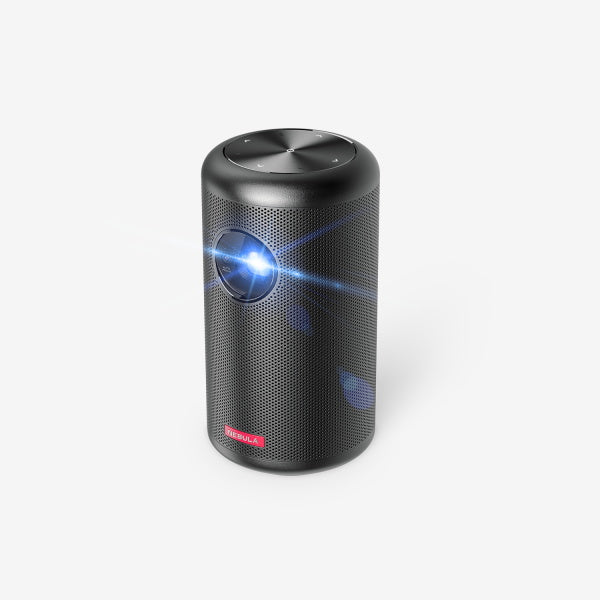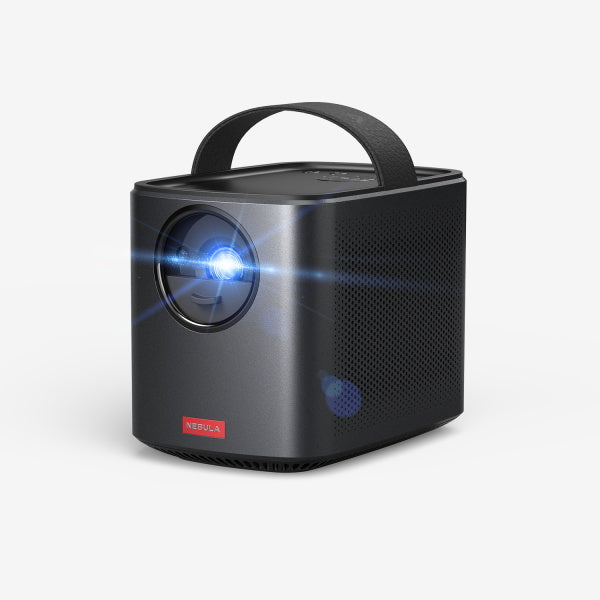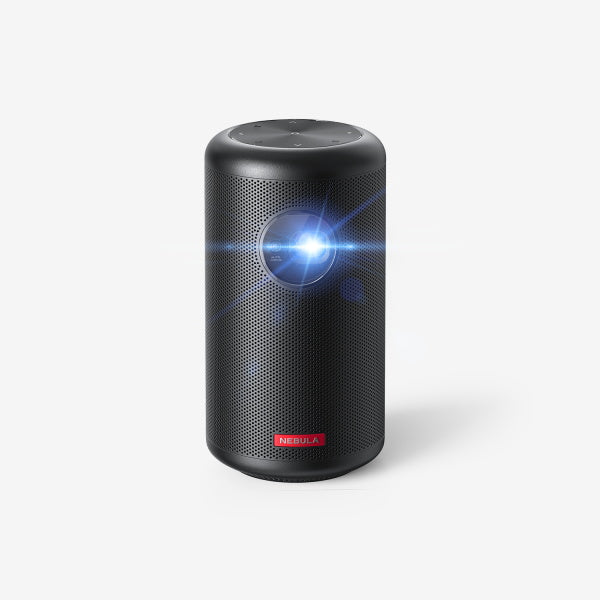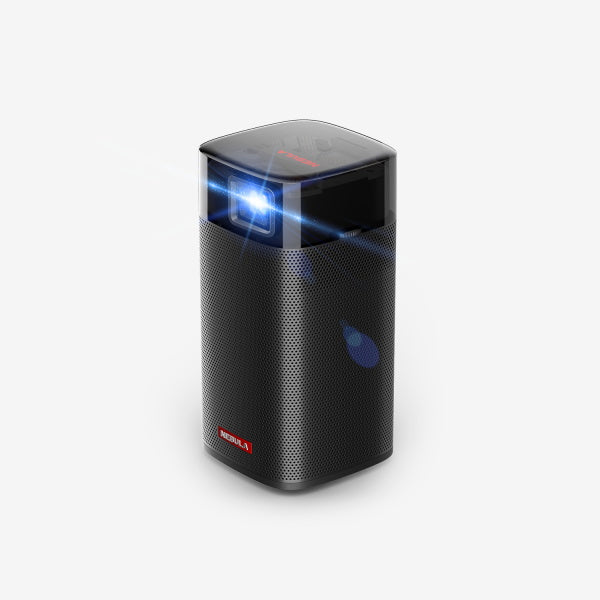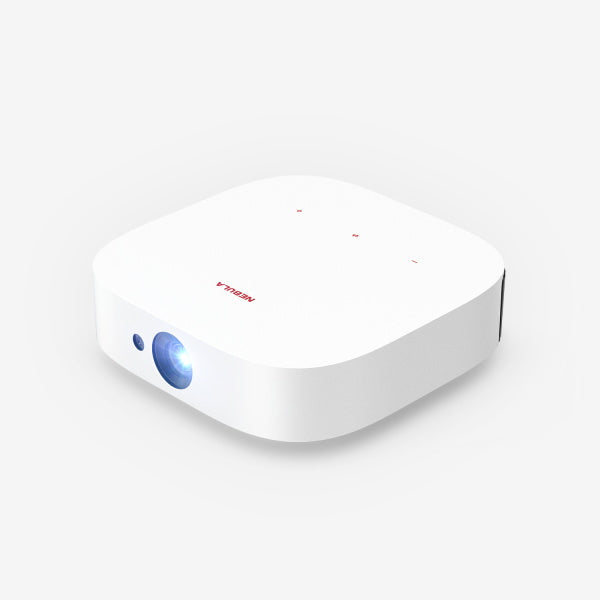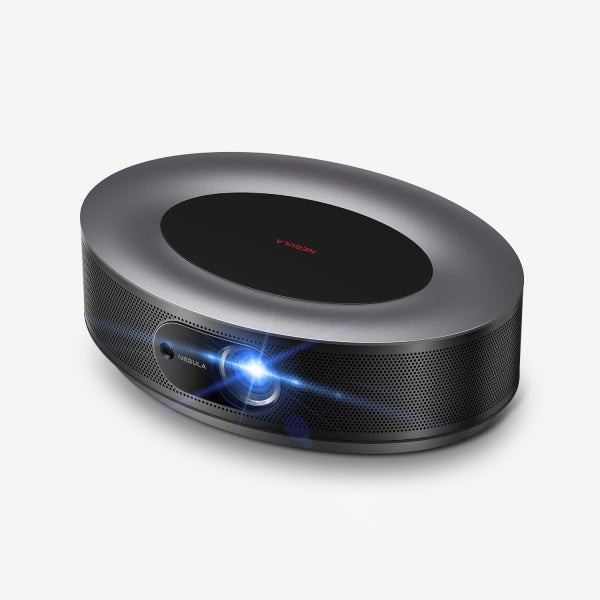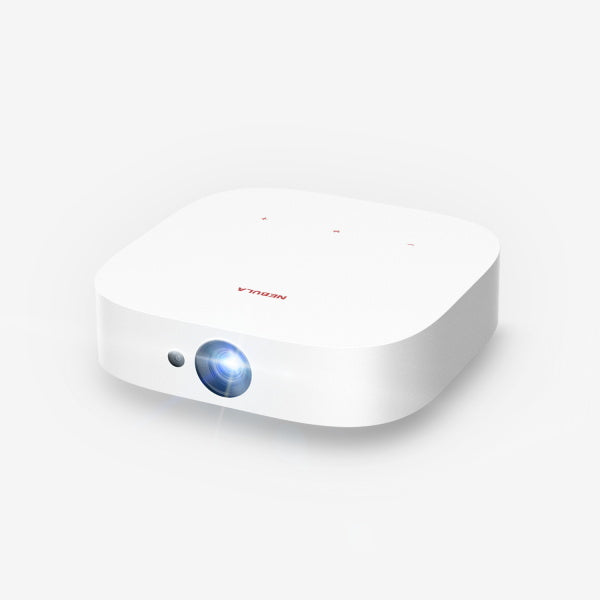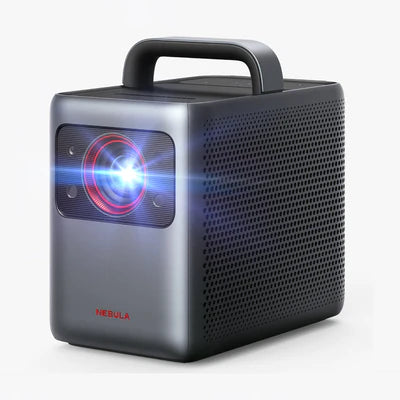
Setting up a projector can seem daunting, but with the right guidance, it's a breeze. Whether you're aiming for a home theater experience or preparing for a presentation, understanding how to set up a projector is essential. From unboxing your device to managing cables, each step plays a pivotal role in ensuring optimal performance. This guide will walk you through every phase, from mapping out your room to calibrating visuals and audio. And, if you're looking for extra insights, our tips section will equip you with further expertise. Dive in and illuminate your space like a pro!
How To Set Up a Projector?
Begin by unboxing everything
Before diving into the setup process, it's essential to unbox all the necessary components and make sure you have everything you need. These items include:
- The projector itself
- A stand or mount (depending on your preference)
- Necessary cables (including HDMI)
- Optional: Projection screen
Map Out the Space in Your Room
- Evaluate the Room Size and Shape:
Measure the room's width, length, and height. This will help determine the maximum screen size that can fit comfortably.
Make note of any architectural features that might interfere with your projector setup, such as fireplaces, doors, or large windows.
- Assess Ambient Light:
Analyze natural light sources like windows or open doorways. Think about installing blackout curtains or shades if the room has windows to ensure optimum viewing during daytime.
Note down the positions of light fixtures to see if they might cause any glare or other viewing hindrances.
- Wall vs. Screen Projection:
If you’re leaning towards projecting onto a wall, it should be even and preferably painted in a neutral matte color. Light-colored walls can sometimes distort the color fidelity of the projection.
For those prioritizing a dedicated home theater projector setup, investing in a high-quality screen is ideal. Screens can offer enhanced brightness and contrast compared to standard walls.
- Seating Arrangements:
Decide on the number of viewers typically expected. This will influence the size and type of seating arrangement.
Consider comfortable viewing angles. Everyone should have a clear line of sight to the screen, without strain.
- Power and Connectivity Points:
Ascertain the location of power sockets in the room. This will dictate where you'll place the projector and other peripherals, reducing the need for extension cords.
Think about the devices you'll connect to the projector – Blu-ray players, game consoles, streaming devices, etc. Ensure they can be placed close enough for easy connectivity.
- Ventilation and Cooling:
Projectors generate heat, so it's crucial to ensure there's ample airflow around its vents.
If placing in a cabinet or on a shelf, make sure there's enough space on all sides. Overheating can not only reduce the device's lifespan but also affect its performance.
- Brainstorm and Visualize:
To get a holistic understanding of how to use a projector in your specific space, sketch out a rough layout on paper or use digital tools.
Consider looking into projector setup ideas online. Platforms like Pinterest or specialized home theater forums can provide design and setup inspiration.
- Test Run:
Before finalizing everything, it's a good idea to do a test run. Set up the projector temporarily, project some content, and sit in various positions to ensure the viewing experience is optimal from all angles.
Set Up Your Screen
Setting up the screen is a critical aspect of the entire projector setup process. Whether you've invested in a high-end screen or are working with a more budget-friendly option, proper setup will ensure that you get the most out of your projection system.
- Choose the Right Location:
The screen should be placed where viewers will have an unobstructed line of sight. Avoid placing it too high or too low; the middle of the screen should be at eye level when seated.
Ensure that the screen's location minimizes reflections or glares from windows or artificial lights. You may want to consider the earlier step of mapping out the room's ambient light.
- Mounting the Screen:
If you're using a pull-down screen, ensure it's securely mounted to the wall or ceiling. Use wall anchors if necessary to ensure stability.
For fixed screens, follow the manufacturer's guidelines for mounting. Ensure it's level and secure.
- Account for Screen Size and Aspect Ratio:
Your home projector setup will greatly benefit from selecting the appropriate screen size and aspect ratio (like 16:9 for most movies or 4:3 for some presentations). Ensure your projector can match the screen's aspect ratio or can be adjusted accordingly.
- Tension Matters:
For those using retractable screens, tension is vital. Ensure that the screen material is taut when pulled down. This prevents wrinkles or waves which can distort the projected image.
- Screen Material:
The material of the screen plays a role in picture quality. Some screens come with a reflective coating that enhances brightness and contrast. Depending on your home theater projector setup, you might choose between white, gray, or ambient light rejecting (ALR) screens.
- Safety First:
If you're mounting the screen, especially a heavy one, ensure it's securely fastened. It's also wise to keep the pull-down screens out of reach from children.
Perfect Your Placement
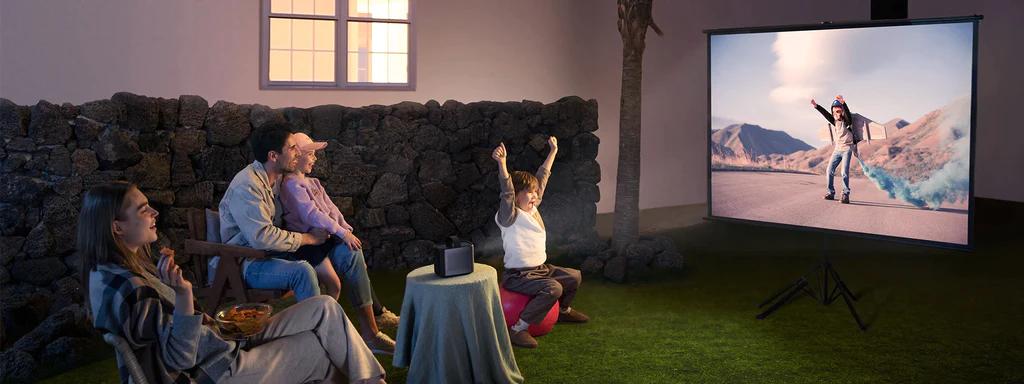
Finding the ideal position for your projector is crucial for achieving the best image quality. Your projector's placement depends heavily on its throw ratio, the screen size, and the room's dimensions. Here's how to get it just right:
- Understand Throw Ratio:
The throw ratio is a specification provided by the projector manufacturer. It's a simple formula that describes the distance between the projector and the screen in relation to the width of the image being projected. For instance, a throw ratio of 2.0 means that for every meter of image width, the projector needs to be two meters away from the screen.
- Measure Your Screen Width:
Before you can determine the projector's distance based on the throw ratio, you need to know the width of your screen. For instance, if you have a screen that's 2 meters wide and a projector with a 2.0 throw ratio, your projector should be placed 4 meters from the screen.
- Adjust for Zoom:
Some projectors come with a zoom feature, allowing for some flexibility in placement. If your projector is slightly off the ideal distance, you can adjust the zoom to fit the image to your screen.
- Vertical and Horizontal Shift:
Ensure that your projector is centered with the middle of the screen. Some models offer vertical and horizontal shift features, which let you move the image up or down, left or right, without physically moving the projector.
- Consider Room Dynamics:
Think about factors like ceiling height, seating arrangement, and potential obstructions. Sometimes, the ideal spot as per throw ratio might not be feasible due to room limitations. In such cases, projector setup ideas like ceiling mounts, adjustable stands, or shelves might come handy.
Find the Right Height and Set Up a Stand or Mount
To achieve the best viewing experience, positioning your projector at the ideal height is paramount. Here's a guide:
- Projector Height:
Ideally, the lens of the projector should align with the top of the screen for most projectors or the center for those designed with an offset. Adjust the height to avoid using excessive keystone correction, which can distort the image.
- Choosing a Stand or Mount:
- Stand: Suitable for portable or temporary projector setup ideas, a stand is flexible and doesn't require permanent installation.
- Ceiling Mount: For a more permanent projector tv set up, a ceiling mount keeps the projector out of the way, giving a more professional look to your setup.
- Testing the Setup:
Before securing everything, project an image to ensure it fits perfectly on the screen. Adjust the stand or mount if necessary.
Turn On and Calibrate Your Projector
Setting up a projector isn't just about physical placement; it's equally about fine-tuning the device for the perfect viewing experience. Here's a detailed walkthrough:
- Powering Up:
Familiarize yourself with how to turn on a projector. Most devices have a power button on the projector body and an additional one on the remote control. If you're using a smart projector, you might also have touch controls or voice commands to power it on.
- Initial Settings:
- Input Source: Ensure you select the right input source, such as HDMI, VGA, or wireless streaming, based on your connection.
- Aspect Ratio: Adjust the aspect ratio based on your screen or content format, like 16:9 for widescreen or 4:3 for traditional formats.
- Calibration:
- Focus and Sharpness: Use the focus ring or button, usually found near the lens, to get a sharp image. You might also have a sharpness setting in the projector menu.
- Keystone Correction: If the projected image appears trapezoidal, adjust the keystone settings to make the image rectangular.
- Brightness and Contrast: These settings help adjust the light output and the difference between the lightest and darkest parts of the image, respectively.
- Color Calibration: Dive into the color settings to balance the reds, blues, and greens for a natural-looking image. Some projectors come with predefined color modes suitable for movies, presentations, or other scenarios.
- Test Your Calibration:
After making the adjustments, play some varied content to see how the projector performs in different scenarios. You might need to make some tweaks based on the content type.
Set Up Audio and Choose the Right Mode
Setting up the perfect audio experience enhances the visuals provided by your projector. Here's a concise guide:
- Integrated vs. External Audio:
Many modern projectors come equipped with built-in speakers. While they are handy for quick setups or presentations, they usually don't provide a cinema-like sound experience. For a richer audio atmosphere, it's recommended to invest in an external sound system.
- Choosing the Right Speakers:
Depending on your room size and acoustics, you might want a soundbar, a 2.1 channel setup, or a full-blown 5.1 or 7.1 surround sound system. Each setup provides a unique listening experience, so choose based on your room dynamics and personal preference.
- Position Your Speakers:
The placement of your speakers is pivotal. Front speakers should ideally be at the viewer's ear level when seated. The center speaker should be below or above the screen, and surround speakers placed to the sides or behind the viewing area.
- Connect Your Audio Source:
Most projectors will have an audio out port. You can connect this to your sound system using an appropriate cable, be it HDMI, RCA, or optical. If you're using a streaming device or smart projector, ensure it's also connected to the sound system.
- Select the Right Audio Mode:
Many audio systems and receivers come with preset modes like "Cinema," "Sports," "Music," etc. Choose the one that best suits what you're watching. For instance, the "Cinema" mode typically enhances dialogue clarity and provides a wider soundstage suitable for movies.
- Calibrate Your System:
Some advanced audio setups come with calibration microphones. These mics, when placed in your primary seating position, can auto-tune your speakers for optimal sound performance in relation to the room's acoustics.
- Consider Acoustic Treatment:
If you're setting up in a dedicated home theater projector setup, think about the room's acoustics. Soft furnishings, carpeting, and acoustic panels can significantly improve sound quality by reducing echoes and unwanted reflections.
- Choose the Right Mode on Your Projector:
Some projectors come with audio-enhancing features or modes. If yours has this, ensure you activate it. This can further fine-tune the audio to match the projected video perfectly.
Manage All Your Cables
A clean projector setup isn't just about the equipment. Proper cable management can enhance the overall aesthetics and safety of your setup.
- Cable Ties and Clips:
Use these to bundle and secure cables together, preventing them from tangling or causing a tripping hazard.
- Cable Trunking:
This is a more permanent solution to hide cables and is ideal for a more professional projector setup.
- Wireless Solutions:
Some smart projectors offer wireless connectivity, allowing you to stream content without physical cables. This can greatly reduce cable clutter.
Tips for Setting Up Projectors
Achieving the perfect projector setup requires attention to detail. Consider implementing these additional tips while setting up projectors:
- Carefully read through your owner's manual before starting the setup process; don't skip over any instructions!
- Take your time throughout each step of the setup process; rushing can lead to mistakes or unsatisfactory results.
- Experiment with various projector settings until you find what works best for you and creates an immersive cinematic experience unique to your preferences.
Conclusion
Transforming a regular living space into an extraordinary home theater involves meticulous planning and execution. However, with this comprehensive guide as your companion, anyone can master how to set up a projector effectively.
FAQ
how do projectors work?
Projectors function by projecting light through a small transparent lens onto a screen or wall. This light passes through an LCD or DLP chip that contains millions of tiny mirrors or pixels which collectively create images.
what do you connect a projector to?Projectors have versatile connectivity options.Here are some primary devices you can connect a projector to include: computers, laptops, gaming consoles (e.g., Xbox, PlayStation), DVD Players, TV set up, streaming Devices (e.g., Roku, Apple TV).
how to turn on a projector?To turn on a projector:
- Power Connection: Ensure all necessary cables are connected securely before proceeding.
- Remote Control Check: Locate the power button either using the remote control provided or the physical switch located on the projector itself
- Press 'Power' : Simply press the 'power' button once the device is properly connected /checked.


